
AQBot - Local-First Desktop AI Workbench
AQBot guide — connect this local-first desktop AI workbench to New API. Import with aqbot:// in one click, or configure OpenAI / Claude / Gemini protocols manually.
Chat Settings Options
In the New API console, go to System Settings -> Chat Settings and add the following shortcut option. It lets users fill AQBot from the token management page with one click:
{ "AQBot": "aqbot://providers?name=New%20API&baseurl={address}&apikey={key}&type=openai" }AQBot is a local-first, open-source desktop AI workbench (AGPL-3.0). It unifies multi-provider chat, ACP agents, knowledge bases, MCP tools, and a local API gateway, while keeping app data and user files on the machine.

- Official Website: https://app.aqbot.top
- GitHub: https://github.com/AQBot-Desktop/AQBot
- Download: GitHub Releases
- Official Docs: Getting Started
Core Features
- Multi-provider chat — Connect OpenAI, Claude, Gemini, DeepSeek, Qwen, and any OpenAI-compatible endpoint
- Provider import — Import a provider from an
aqbot://link after confirmation - Model management — Sync remote model lists, capability tags, and latency tests
- Agent — In-chat Agent (uses your configured provider APIs) plus an ACP Agent workbench
- Local data — App state lives in
~/.aqbot/; user files live in~/Documents/aqbot/
See the AQBot website for the full feature set. This page covers New API integration only.
NewAPI Integration Method
Please use your self-deployed New API, or ensure that the service provider has a New API service with legal upstream authorization and compliance obligations. Do not integrate API addresses or keys from unknown sources into a production environment.
Method 1: One-Click Import (Recommended)
- Install AQBot and open it at least once so the system registers the
aqbot://protocol - In the New API console, add the JSON above under System Settings → Chat Settings
- Open Token Management and choose AQBot from the token actions
- The browser launches AQBot. Confirm the provider name, API host, type
openai, and key prefix - After confirmation, AQBot opens Settings → Provider Management. It reuses a provider with the same API host + type, or creates a new one
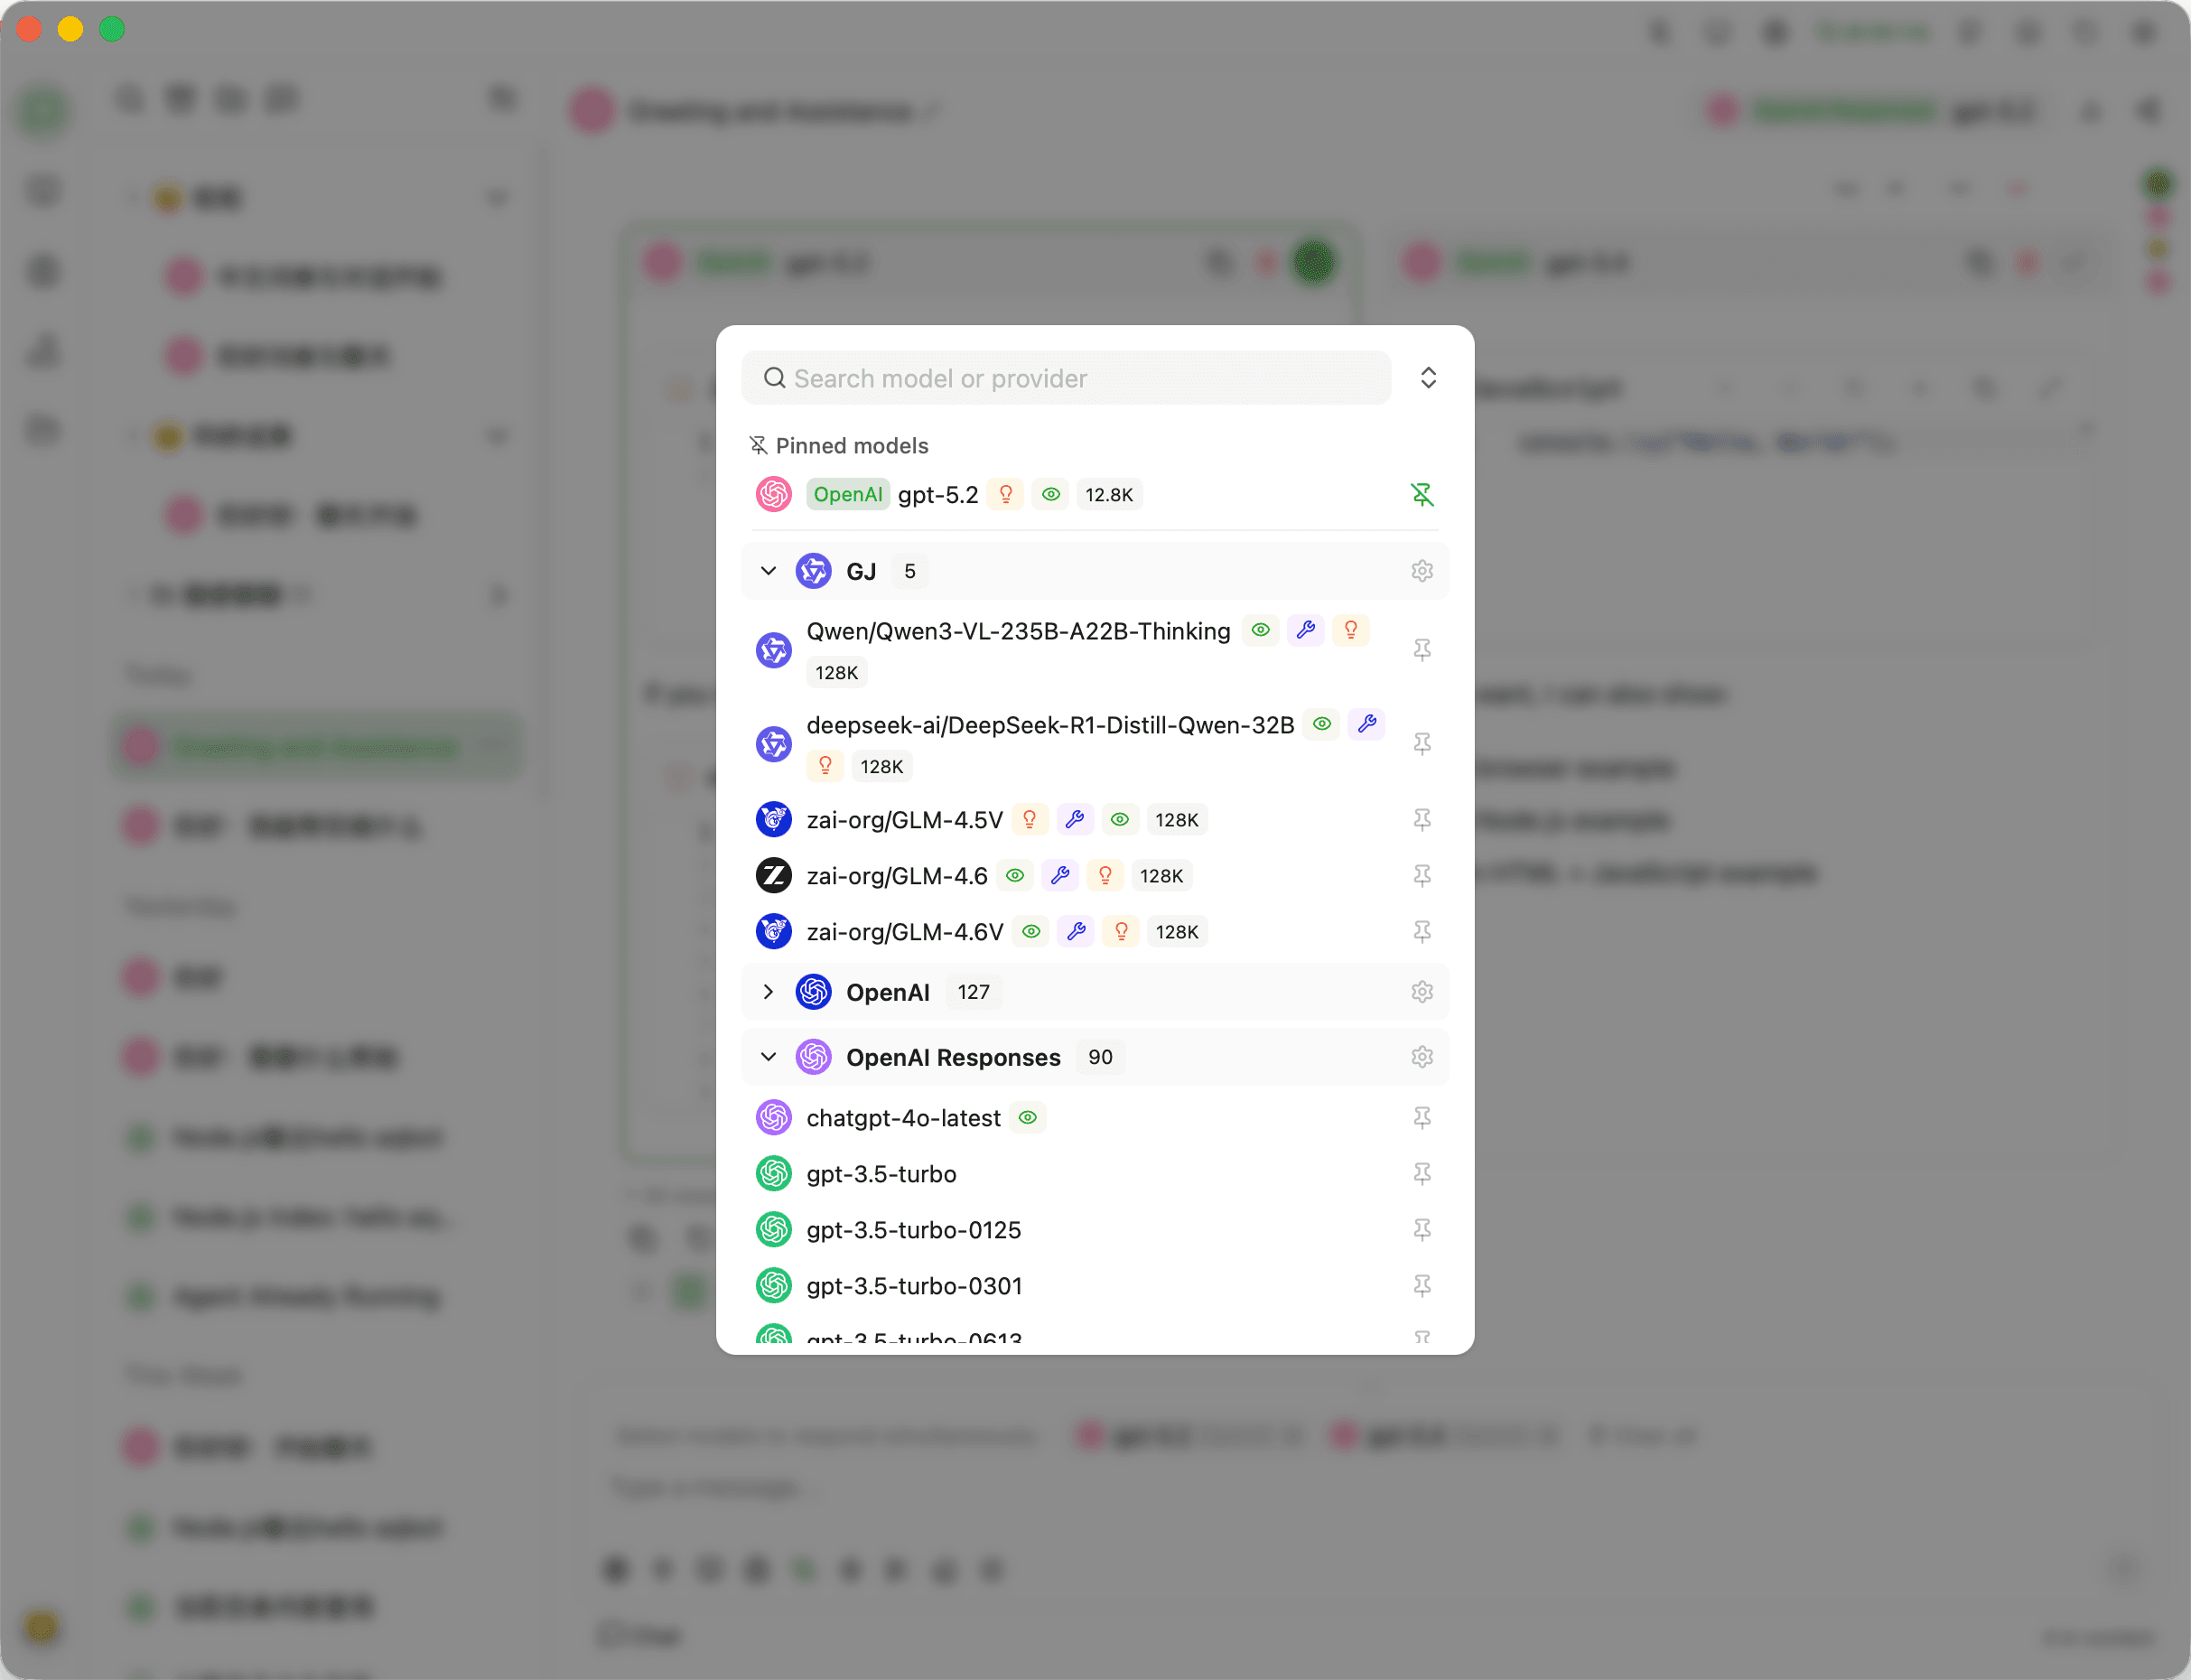
- Open that provider, click Sync Models, then return to chat and select a model
{address} is the New API site root (for example https://your-newapi.example), with no query string. For the OpenAI type, AQBot appends /v1 automatically. Import does not validate the key or sync models.
Method 2: Manual Configuration
- Copy the API Key from New API Token Management
- In AQBot, go to Settings → Provider Management → Add Provider
- Fill in:
| Field | Value |
|---|---|
| Provider Name | For example New API |
| Provider Type | OpenAI (recommended) |
| API Host | New API site address, such as https://your-newapi.example |
| API Key | Your New API token |
- Click Sync Models to pull the models currently exposed by New API
- Return to chat and select a synced model
API Host Notes
- Prefer the site root and let AQBot append
/v1 - If the host already ends with
/v1, AQBot will not append another one - Add a trailing
!only when you must disable automatic completion
Optional: Native Protocols
If New API also exposes Claude or Gemini native APIs, add another provider:
| Use | Provider Type | API Host |
|---|---|---|
| Chat Completions (default) | OpenAI | Site root |
Claude native /v1/messages | Anthropic | Site root |
| Gemini native | Gemini | Site root |
Change type in the one-click template to anthropic or gemini. The same API key can back multiple providers.
FAQ
- Clicking AQBot does not open the app: Install and launch the desktop app first. Opening only the website or a Vite dev server does not register
aqbot:// - Import succeeds but chat fails: Click Sync Models, and make sure the model ID matches the name New API actually exposes
- macOS says the app is damaged or the developer cannot be verified: Follow the AQBot README and Getting Started to allow this app. You do not need to turn Gatekeeper off
- The one-click link contains an API key: Generate it only on the signed-in token page. Do not post URLs that embed a real key
Related Links
How is this guide?
Last updated on
AionUi - Free Open-Source Desktop Office Agent
AionUi Tutorial — A free open-source desktop office agent supporting various AI agents like Gemini CLI, Claude Code, Codex, and more. Integrates with New API to enable multi-model workflows.
CC Switch - All-in-One AI CLI Management Tool
CC Switch tutorial — a cross-platform tool for unified management of Claude Code, Codex & Gemini CLI provider configs, MCP servers, and system prompts. One-click import from New API.